Data View#
The Data View is where you can view, explore and manage the data you upload or ingest into HumanFirst, the data generated by executing packages within HumanFirst, as well as the history of your chat interactions.
Overview#
- Uploading Data
- Viewing, Filtering and Exploring Data
- Saving a Data View
- Managing Data
Uploading Data#
From the data view, select Upload from the top right corner and select your format.
CSV
Comma delimited CSV files with a minimum of one column. See below for details.
Document
Any document in text format, including PDF, DOCX, and TXT
Uploading Data in CSV format#
- Browse or drag and drop your CSV. Optionally, add any tags to your data. Tags will be added to each individual data point within the CSV.
- Select whether the CSV has a header row and whether the data contains conversations. See details on working with conversation data.
- Select the field represented as the main Text column. This should be the column that holds the most important information. Other columns will be uploaded as metadata.
- Rename and/or delete any additional columns and select Upload.
- From the drop down, select whether to create a new dataset to hold the CSV or add to an existing dataset.
Data can also be uploaded in the Artifacts pane, or ingested via API.
Data View Settings#
You can add multiple data view tabs to see different segments of data. Tabs can be renamed and saved, filtered and sorted, and columns can be added or removed from view.
Columns
Add or remove columns by selecting from the list of metadata fields available. Currently the column option list is limited to displaying only the first 20 metadata fields. Other fields not displayed can be added as columns using the search option. Columns can be hidden by clicking on the column name in the data view.
View multi-line
Set the amount of text displayed as Single-line, Multi-line or Full.
Markdown
Set text to be displayed in plain text or markdown format.
Viewing, Filtering and Exploring Data#
Chunking and Indexing#
Everything uploaded to and generated within HumanFirst is automatically chunked and indexed, allowing you to work with full files or individual segments. To view your files by individual segments (i.e. a row in a spreadsheet), select the Chunks button at the top of your data table.
Filtering Data by Type#
You can toggle between viewing uploaded data, collected data, generated data, and threads data (data created through chat conversations) using the dropdown panel on the upper left side, below your data tab.
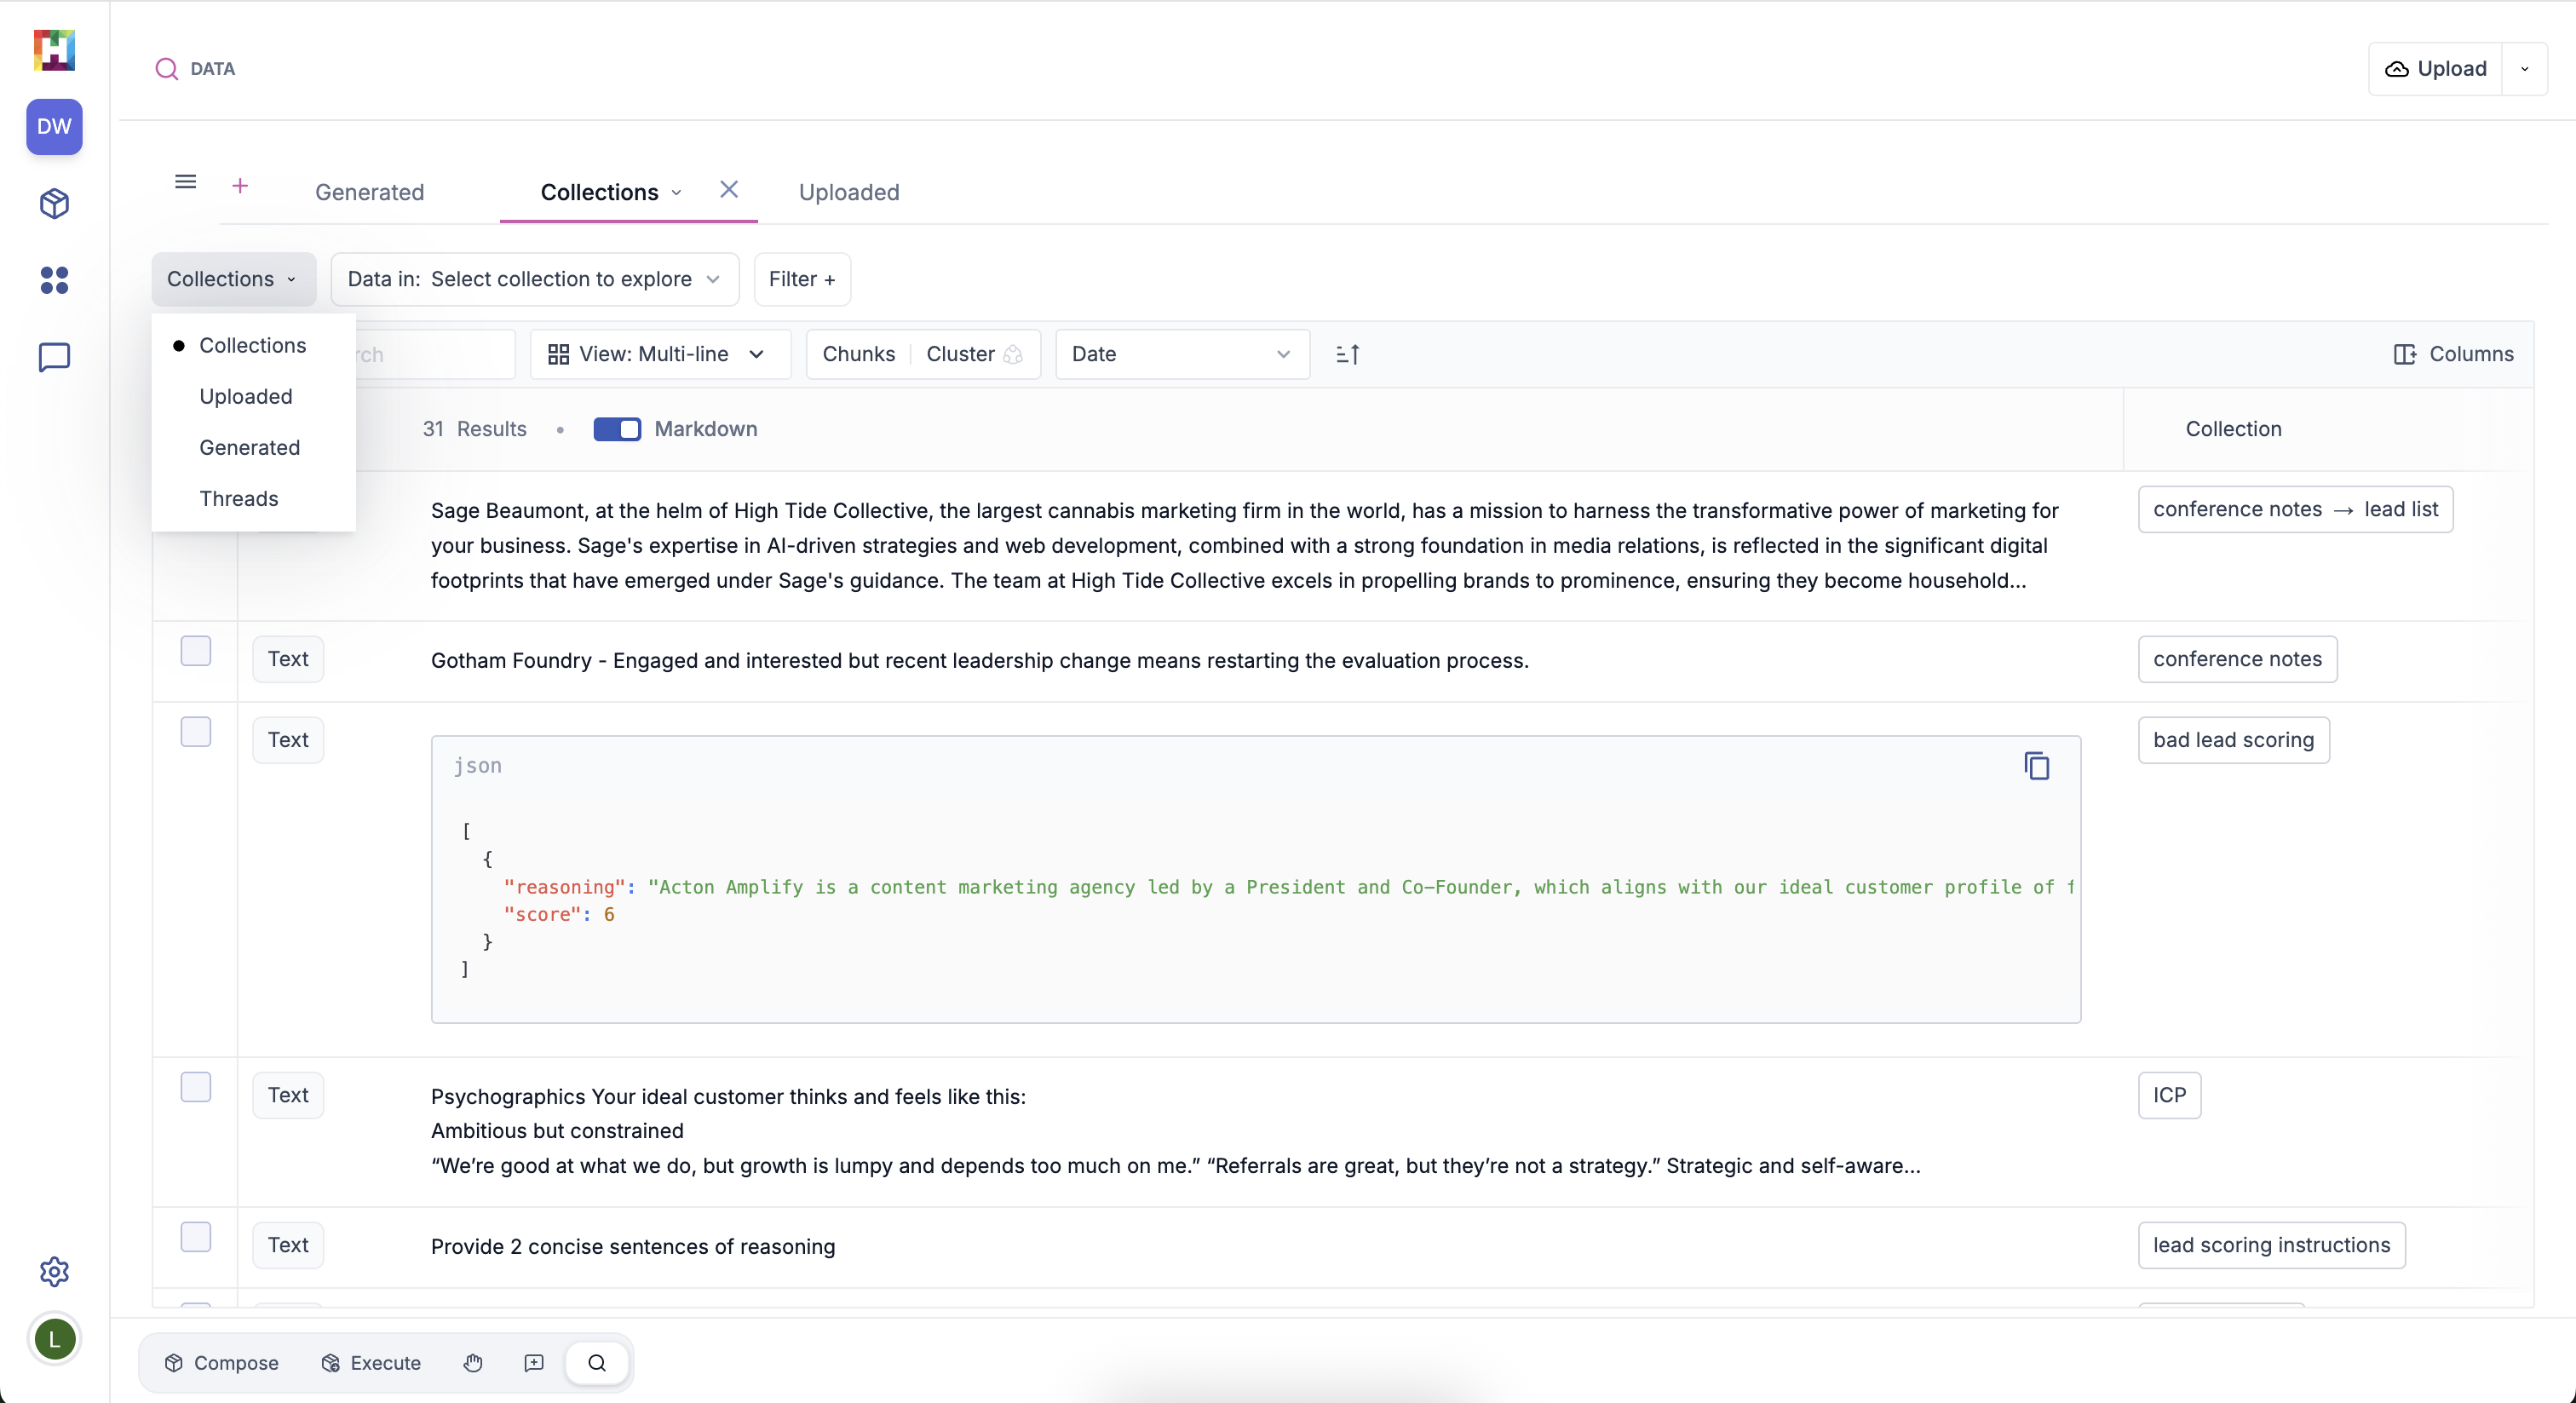
Collections
View data that's been organized into collections, along with the corresponding collection name. Learn more about collections.
Uploaded
View all data that's been uploaded. Note any uploaded data moved to a collection will not be shown within the Uploaded data view.
Generated
View results that have been generated by executing a package.
Threads
View data from your chat conversations.
Viewing Generated Data#
Each execution run is stored as a separate dataset within the Generated Data View. Each generated data point maintains its connection to the package that produced it and its input data. You can move backwards and forwards between runs using the Run filter.
The input data that corresponds to each generated result can be viewed by adding exampleText as a column.
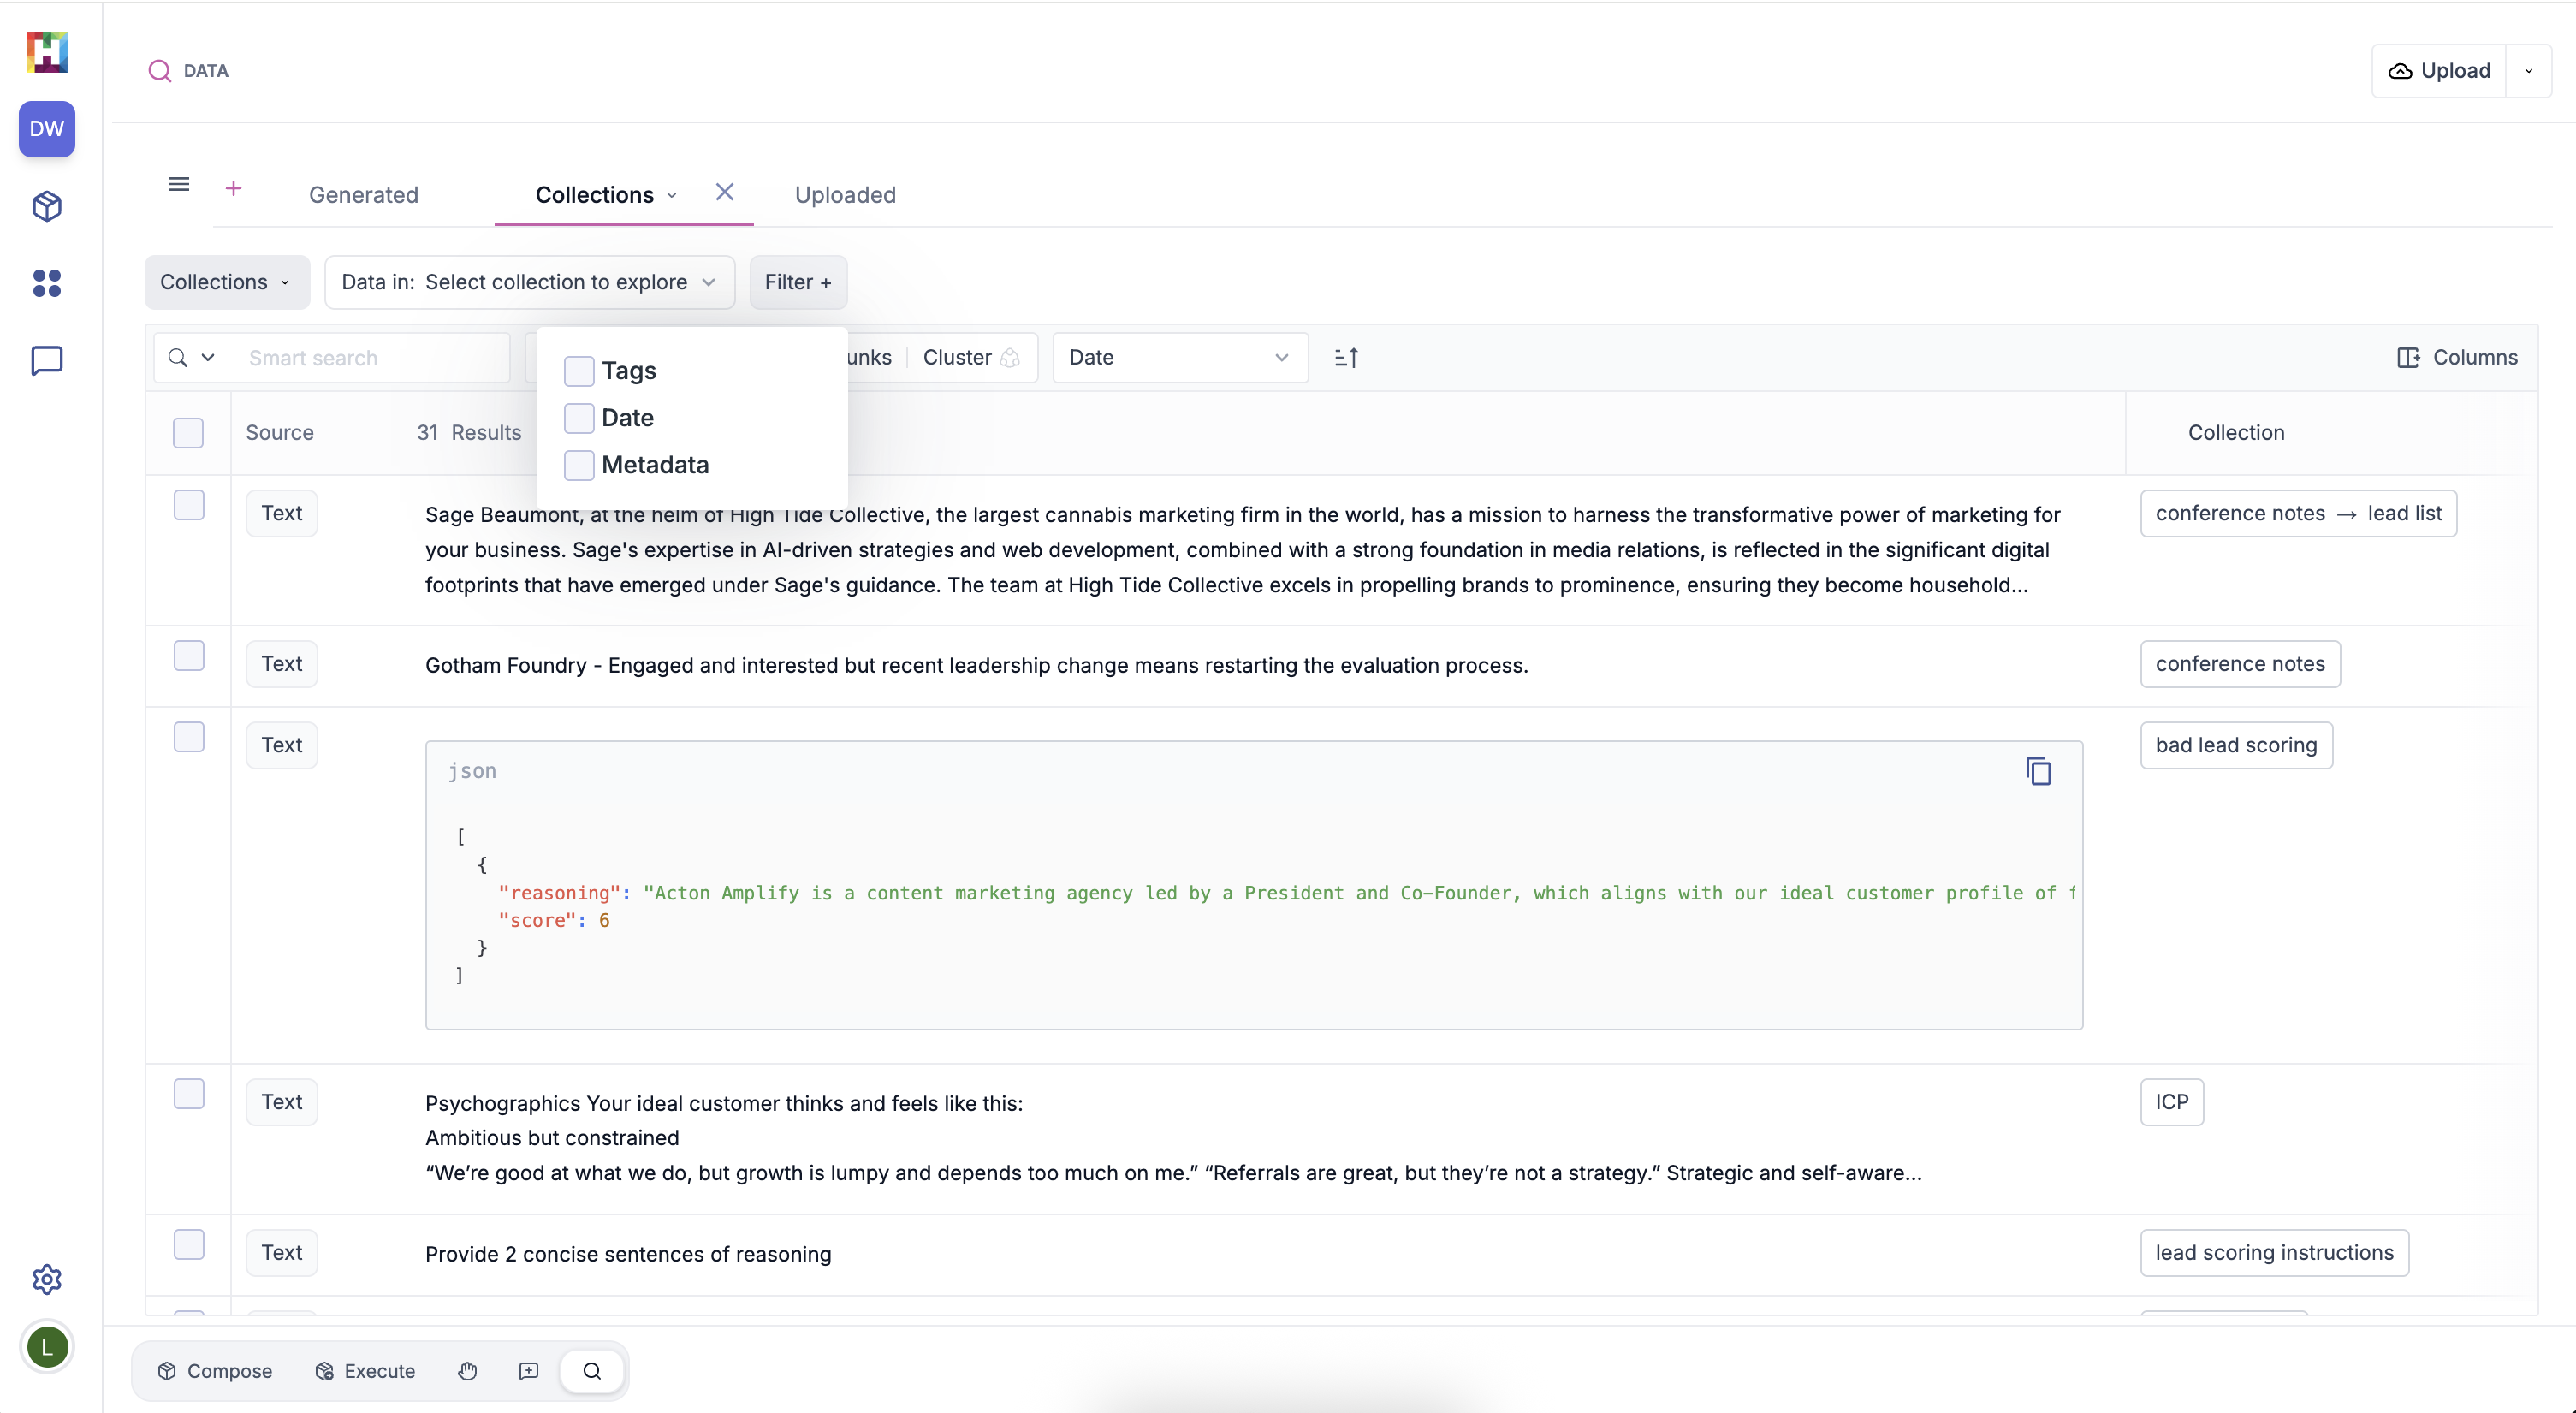
Filtering by Metadata and Tags#
Data can be filtered by metadata, tags or date of creation.
Metadata
Filter by any metadata associated with the original data point. This includes system defined metadata such as generationRunId, llmModelName, or section kind (for uploaded documents), as well as any metadata columns added during dataset creation.
Tags
Filter by the tags you apply on upload. Manage your available tags in User Preferences.
Date
Filter by the date it was created using preset or custom filters.
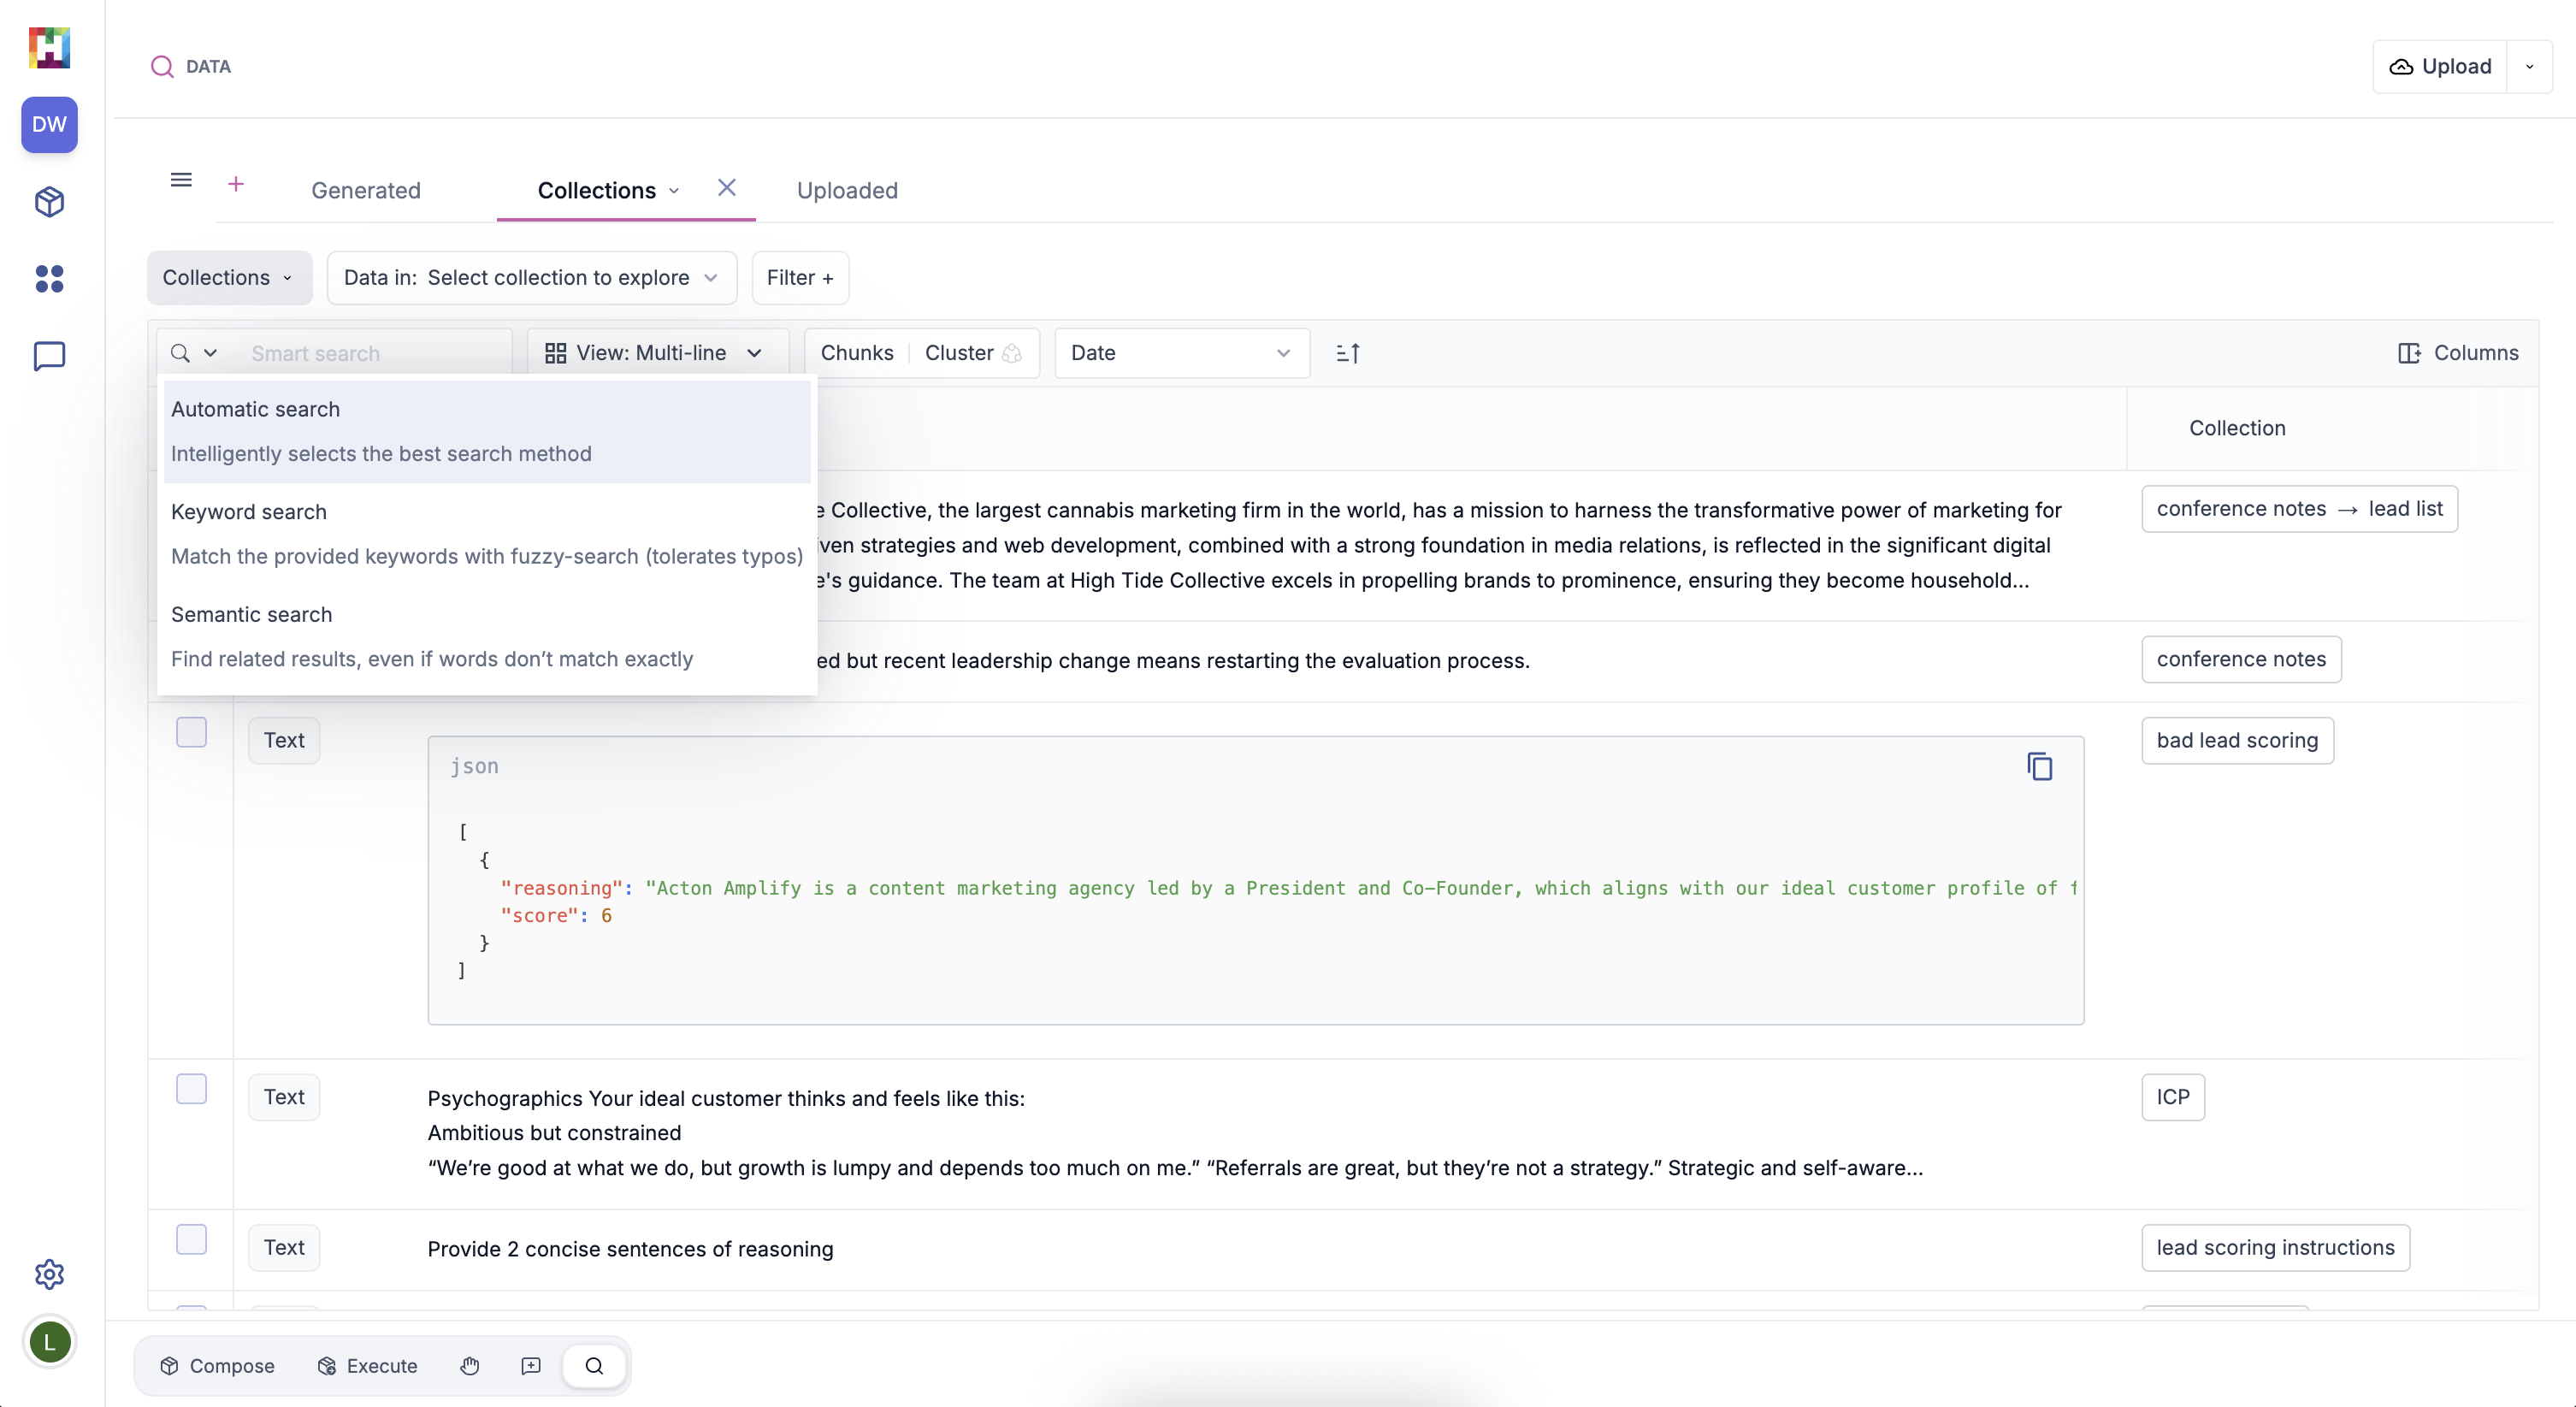
Searching Data#
You can search for data within the main text column using the search option. There are three search options available:
Keyword Search
Uses fuzzy search, so misspelled words, incorrect accents, or plurals will still return results even without an exact match.
Semantic Search
Uses semantic similarity to search for data that contain text similar to your search term. For example, semantically searching for "refund" might return text containing "reimbursement", "returns", or "rebate".
Automatic Search
Automatically applies the best search option.
Clustering Data#
To simplify the review of large datasets, select Cluster at the top of your data table. Clustering groups like-kind data points into semantically similar clusters.
The full cluster can be viewed by clicking the "Text" button on any data point. Clustering has two editable parameters:
Minimum Cluster Size
The minimum number of data points in each cluster. Increasing this parameter will filter out smaller clusters from view.
Granularity
Roughly defines how granular the concepts for every cluster are found. Lower the granularity if the clusters reference concepts that shouldn't be considered similar. For example, if you're looking to group all different financial loan types together, you may have to lower the granularity if results return clusters that include different loan types.
Saving a Data View#
You can save your data view tab settings, including filters and columns, by clicking the dropdown arrow on your data tab and adding a Saved View.
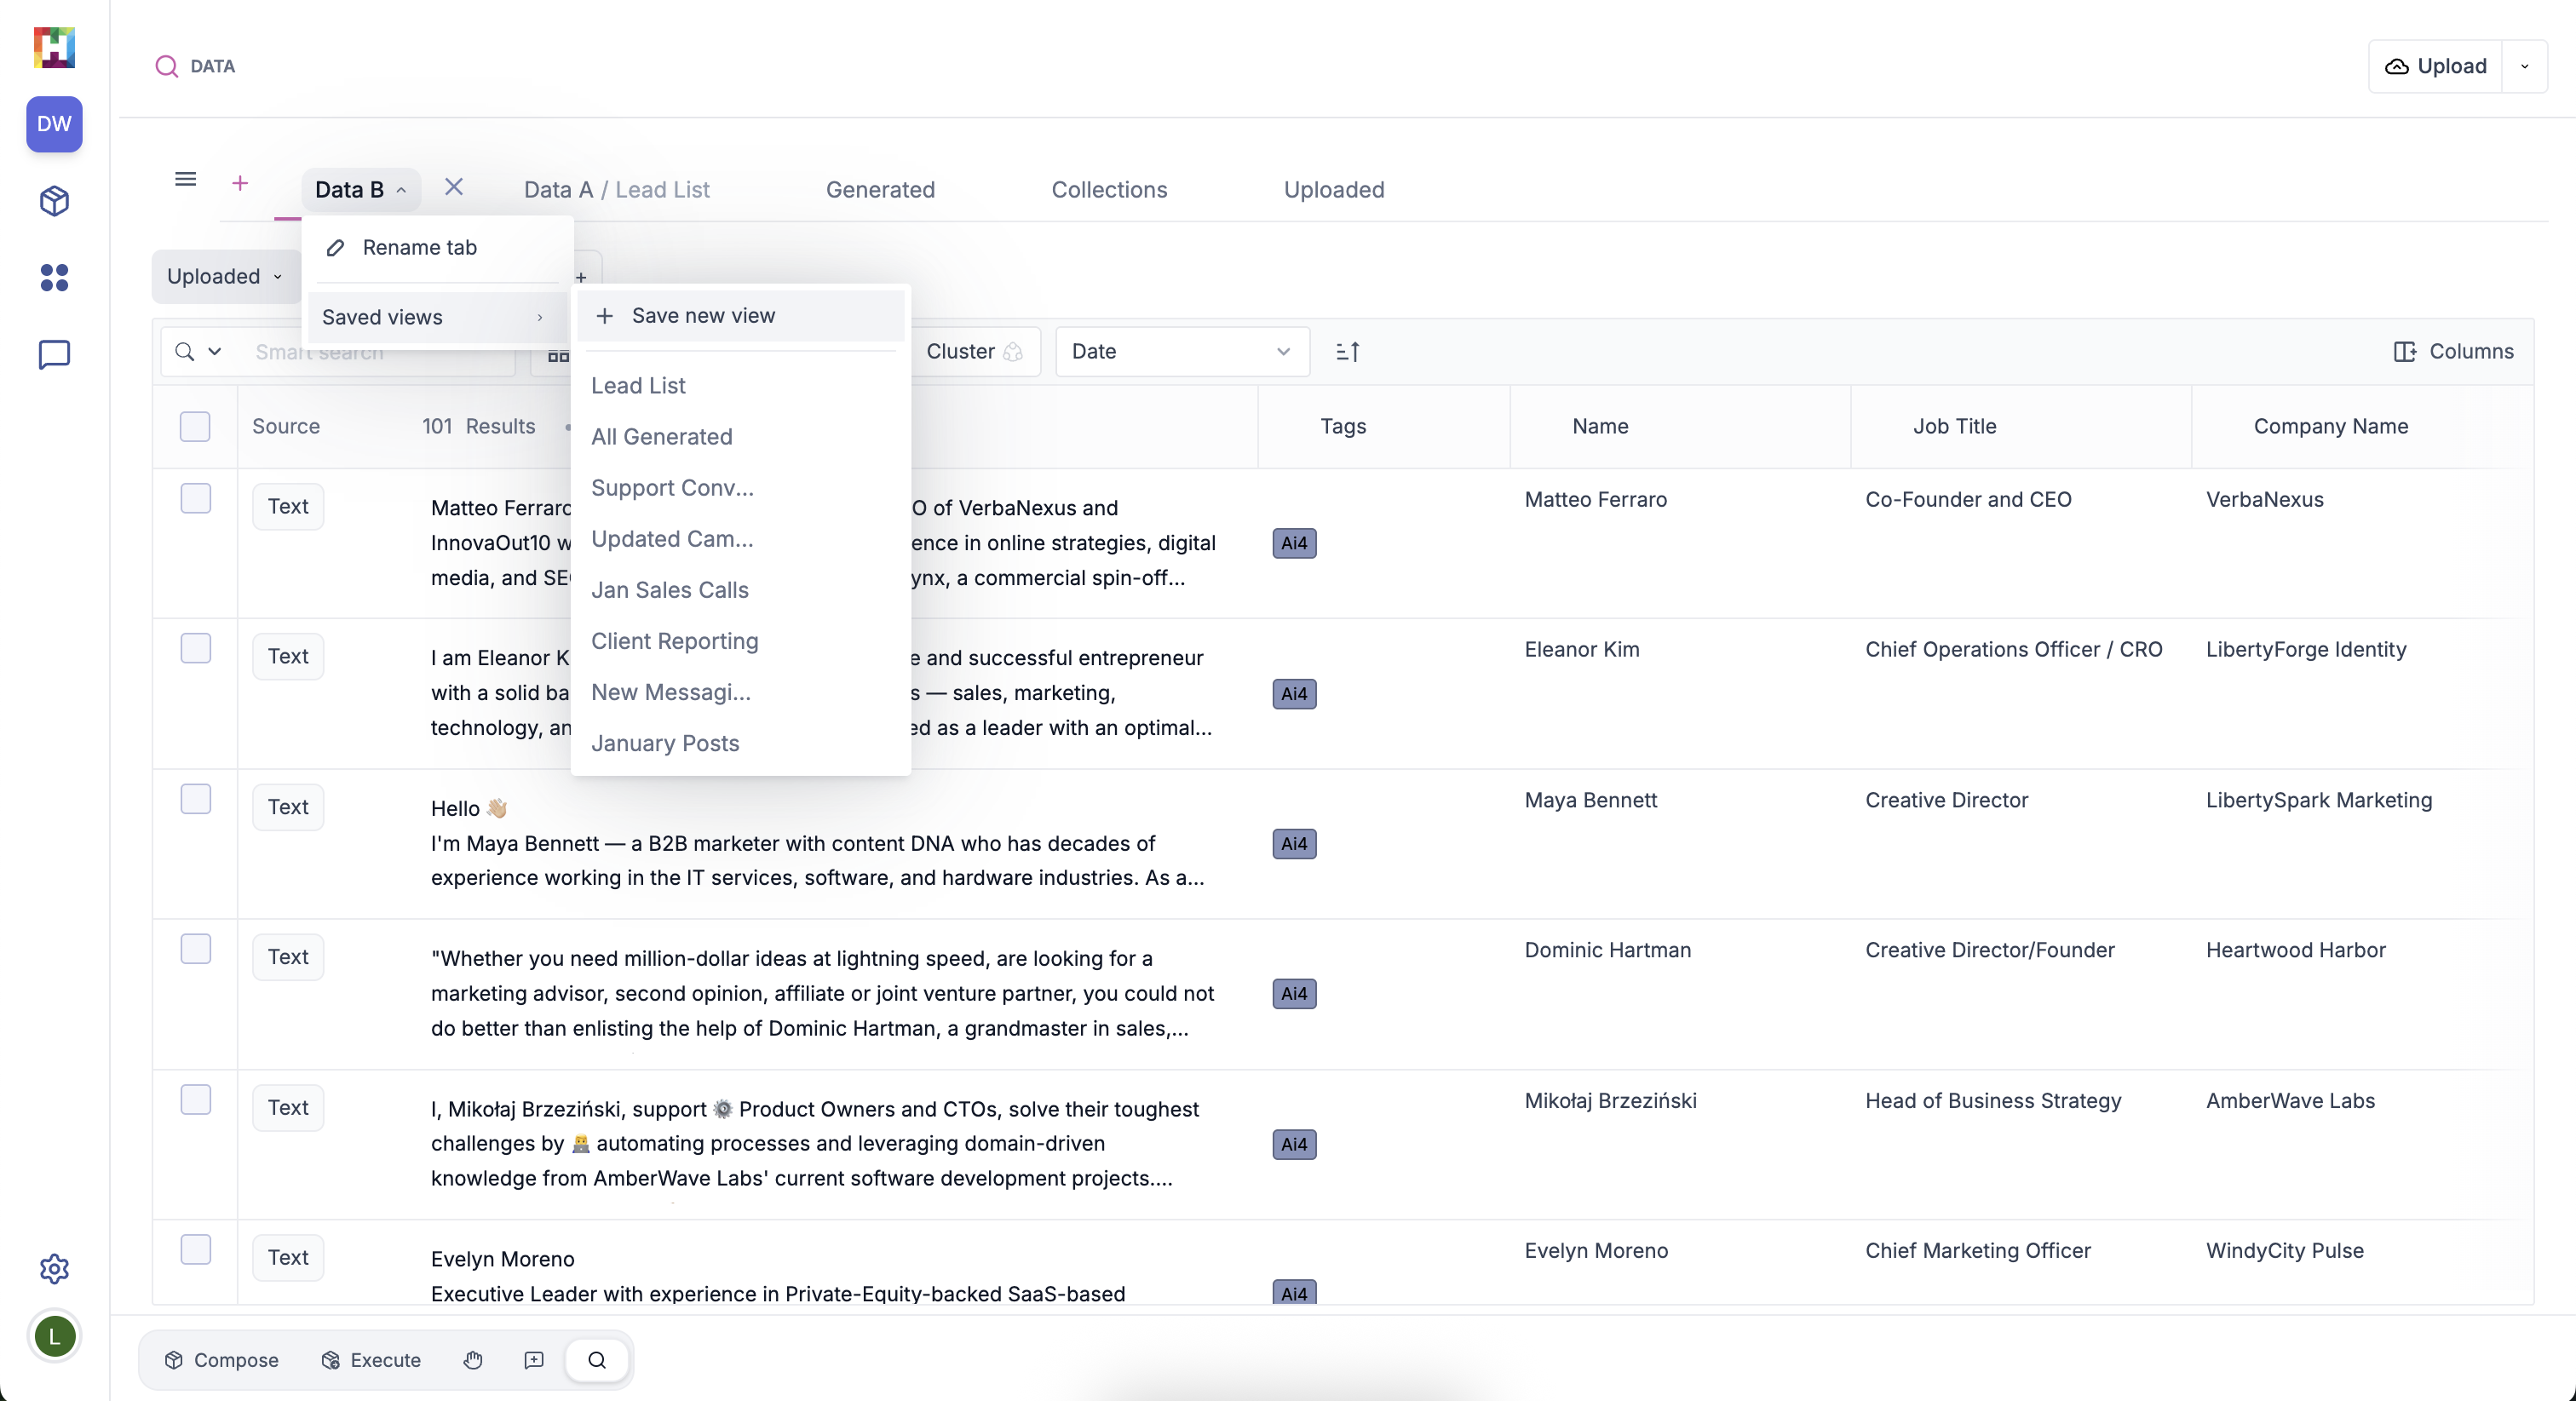
Saved Views allow you to maintain the settings of your data query so you can easily access this tab with the same set up, and reference the data it contains in a package. Read more about referencing data views in packages.
If you upload or ingest new data points that match the saved query requirements, those data points will be added to your view.
Managing Data#
Any datasets that are added to a workspace can be disabled or unlinked from your workspace.
- Select the dropdown options from Upload in the top right corner.
- Select Manage Data.
- To temporarily hide a dataset from the data view, use the toggle to Disable the file.
- To permanently disconnect a dataset, select the red "unlink" icon. Note: this will disconnect the dataset from the workspace, but the dataset will still be stored in the Data Management tab associated with your namespace.
- To delete a file within a dataset, click on the dataset name to view all the files it contains, and then delete the required file. This will permanently delete the file.