Zapier#
The HumanFirst Zapier integration lets you connect HumanFirst to thousands of apps and automate workflows without writing code. Use it to trigger pipeline runs, update prompts, and export results as part of larger automated processes.
Overview#
- Prerequisites
- Step 1: Create a Machine User
- Step 2: Generate an API Key
- Step 3: Connect HumanFirst to Zapier
- Step 4: Build Your Zap
- Available Actions
Prerequisites#
- A HumanFirst account with Organisation-level access (required to create machine users)
- A Zapier account with access to the HumanFirst integration — access the invite here
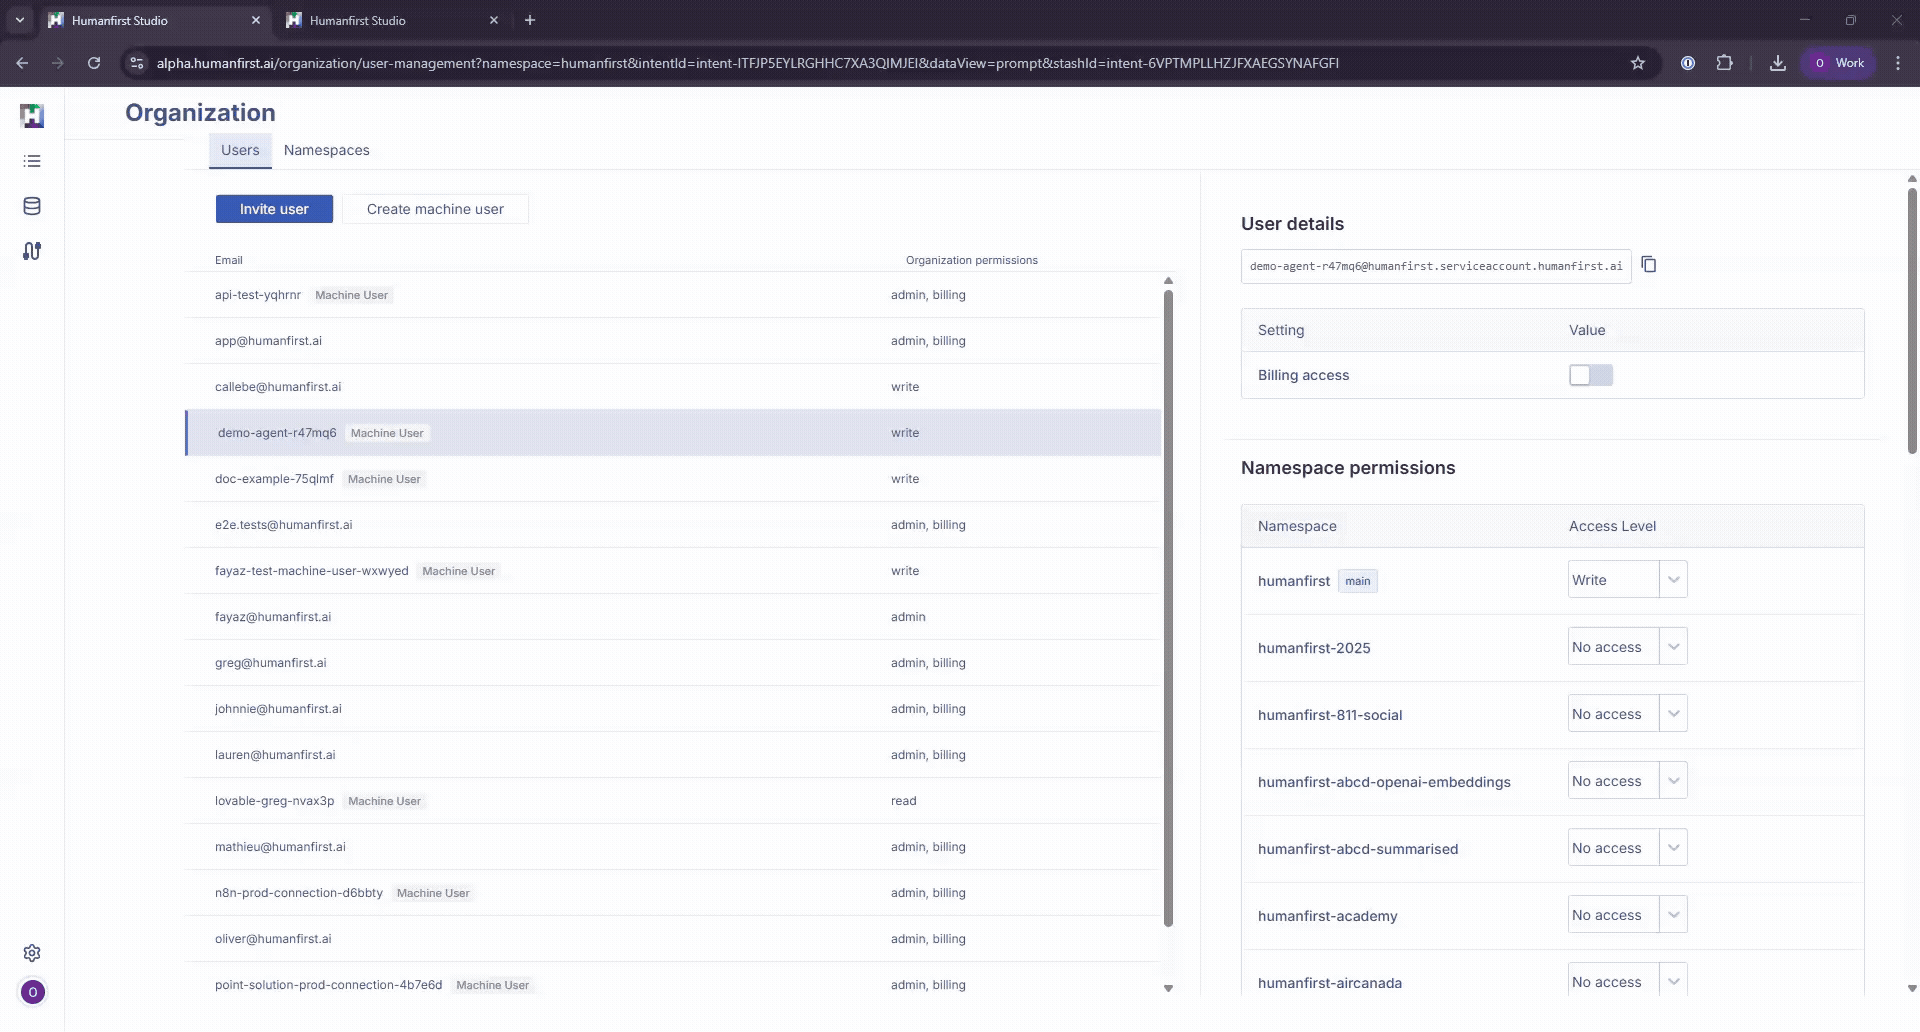
Step 1: Create a Machine User#
Machine users (service accounts) are the recommended way to authenticate integrations. They give you fine-grained access control and keep your personal credentials separate from automated workflows.
- Click on the HumanFirst icon in the top left corner.
- Select Organization.
- Click Create Machine User.
- Add a name for the Machine User — use something descriptive like
zapierso you can identify this account later. - Set the Organization Access Level to Read.
- Under Namespace Permissions, set the access level for any namespace your Zap will need to access. Leave all others at No access.
- Click Create Machine User at the bottom of the page.

Step 2: Generate an API Key#
- Select the Machine User that has been created.
- Scroll to the bottom and select Create New API Key.
- Add a name for the API key.
- Set expiration as required.
- Copy your API key.
Important: The API key is shown only once. Copy it and store it securely before closing the dialog.
Step 3: Connect HumanFirst to Zapier#
- In the Zapier editor, add a new step and search for HumanFirst in the app picker.
- Select HumanFirst from the results and choose your action event.
- In the Account section, click + Connect a new account.
- Paste the API key you copied from HumanFirst.
- Enter a namespace that the API key has access to — this is used to verify the connection.
- Leave the Environment set to Production.
- Click Continue to HumanFirst. Zapier will test the connection and confirm access.
The new account appears in your connected accounts list and is selected automatically.
Step 4: Build Your Zap#
- Select the action event for your HumanFirst step from the Action event dropdown.
- Fill in the required fields. Use data from previous steps by clicking into a field and selecting from the available variables.
- Click Continue, then Test step to verify the action runs correctly.
- Add additional steps using the + button as needed.
- When complete, click Publish to activate the Zap.
Available Actions#
Run Full Pipeline Workflow
Starts a pipeline, polls until it completes, and returns the exported results in a single step. Use this when you need the pipeline output available in downstream steps of the same Zap.
Start A Pipeline
Triggers an existing pipeline without waiting for it to finish. Use this for fire-and-forget automation or when results are handled in a separate workflow.
Trigger Prompt With Input
Runs a specific prompt with custom input values and returns the generated output. Use this to incorporate HumanFirst prompt execution into real-time or event-driven workflows.
Update Prompt
Updates an existing prompt inside a package. Use this to sync prompt content with external systems or automate prompt versioning.